Your assignment is to install Arch on a machine in the lab.
We will use PXE booting for this assignment. This means that you will be booting from a server located in the back of the room.
While this assignment is quite straightforward for the most part, there are some potential impediments to PXE booting that may (or may not) affect you.
In general, as to disk partitioning issues, please use the "remove all partitions" method outlined below and don't bother to save any of the old information on the machine. If you have two disk drives, please let me know and I will help you with the issues of dealing with two drives.
As to software, I would strongly encourage you to choose a minimal install. You can always add packages later, as they are needed. The less that you choose to install initially, the less time that it will take to do the initial install. Indeed, if you choose just the packages shown below, then installation finishes very quickly indeed; however, some students may prefer to install a graphical environment, and that takes considerably more time and work.
To request a network boot, hit F12 during the system POST so that you will be presented a number of methods to boot your machine. Choose the network boot option (usually the last one on the list of possible boot options.) If the NIC doesn't boot, it is probably because PXE booting is turned off in the BIOS, so go into the BIOS and enable PXE booting.
If (and only if) you don't see a "NIC" option at all, then you will have to go into the BIOS and add the NIC to the list of boot choices. It's best to not use EFI/UEFI for PXE booting, so if EFI is turned on, turn it off. Make sure that PXE booting is enabled after you add the NIC choice.
Once Arch's "netboot" system has booted up, you will need to choose a mirror for the actual media for the boot process:
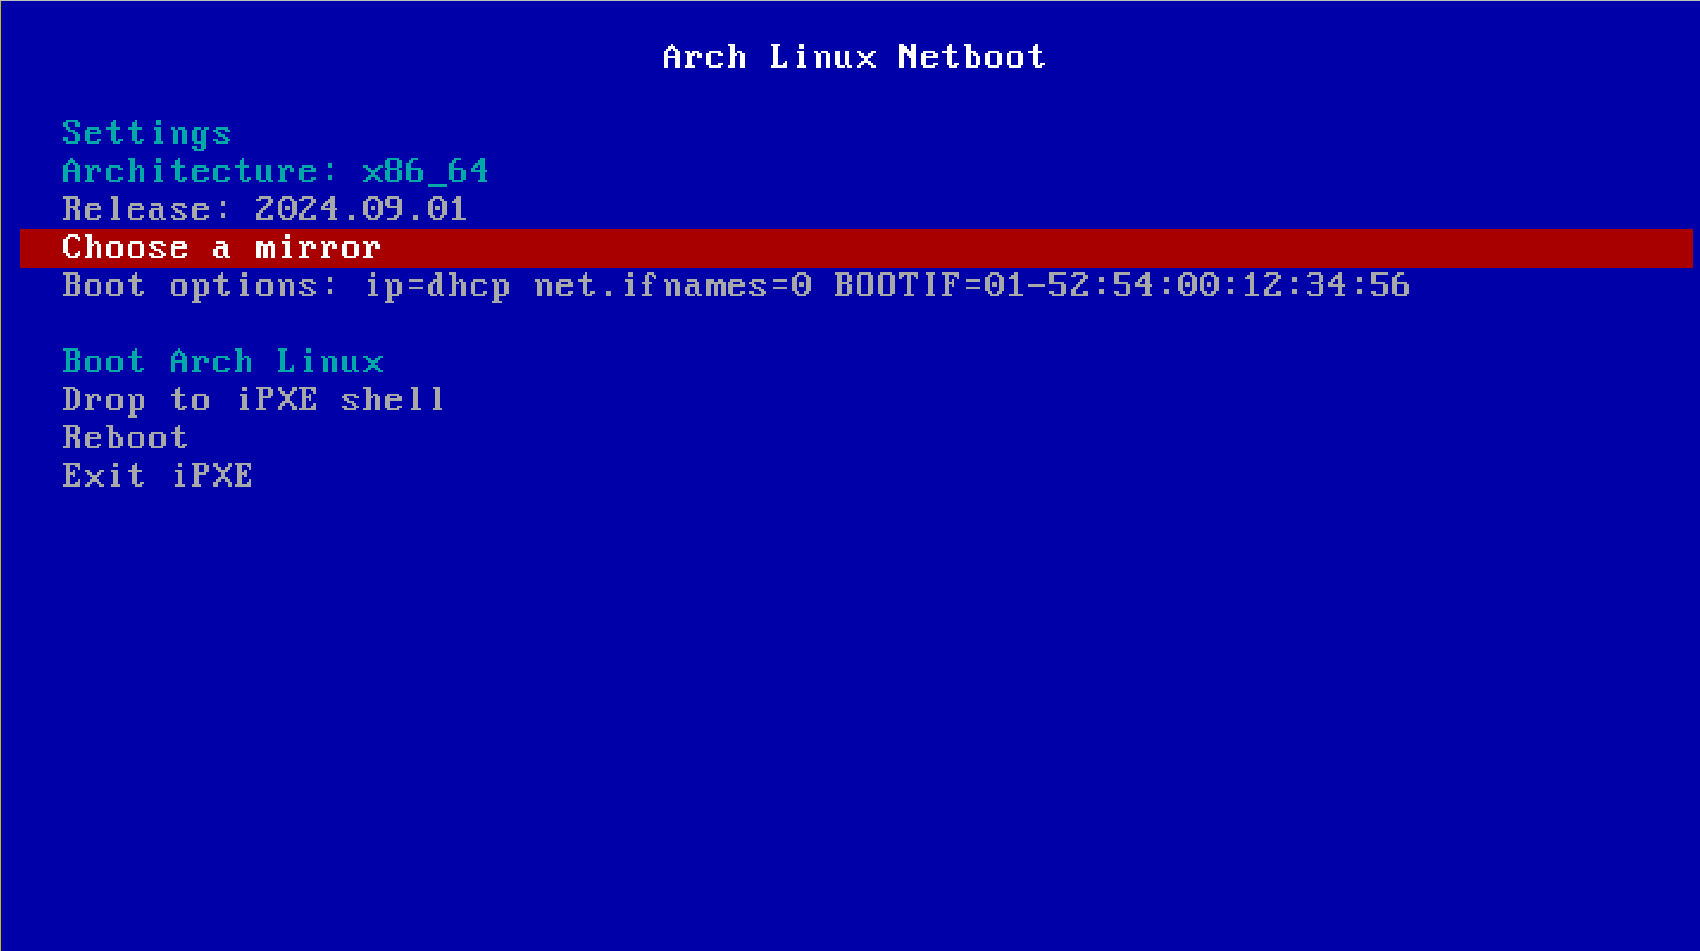
Go into the "Choose a mirror" option by moving to that item and pressing "RETURN". That will take you to a list of countries that you can use for the downloads:
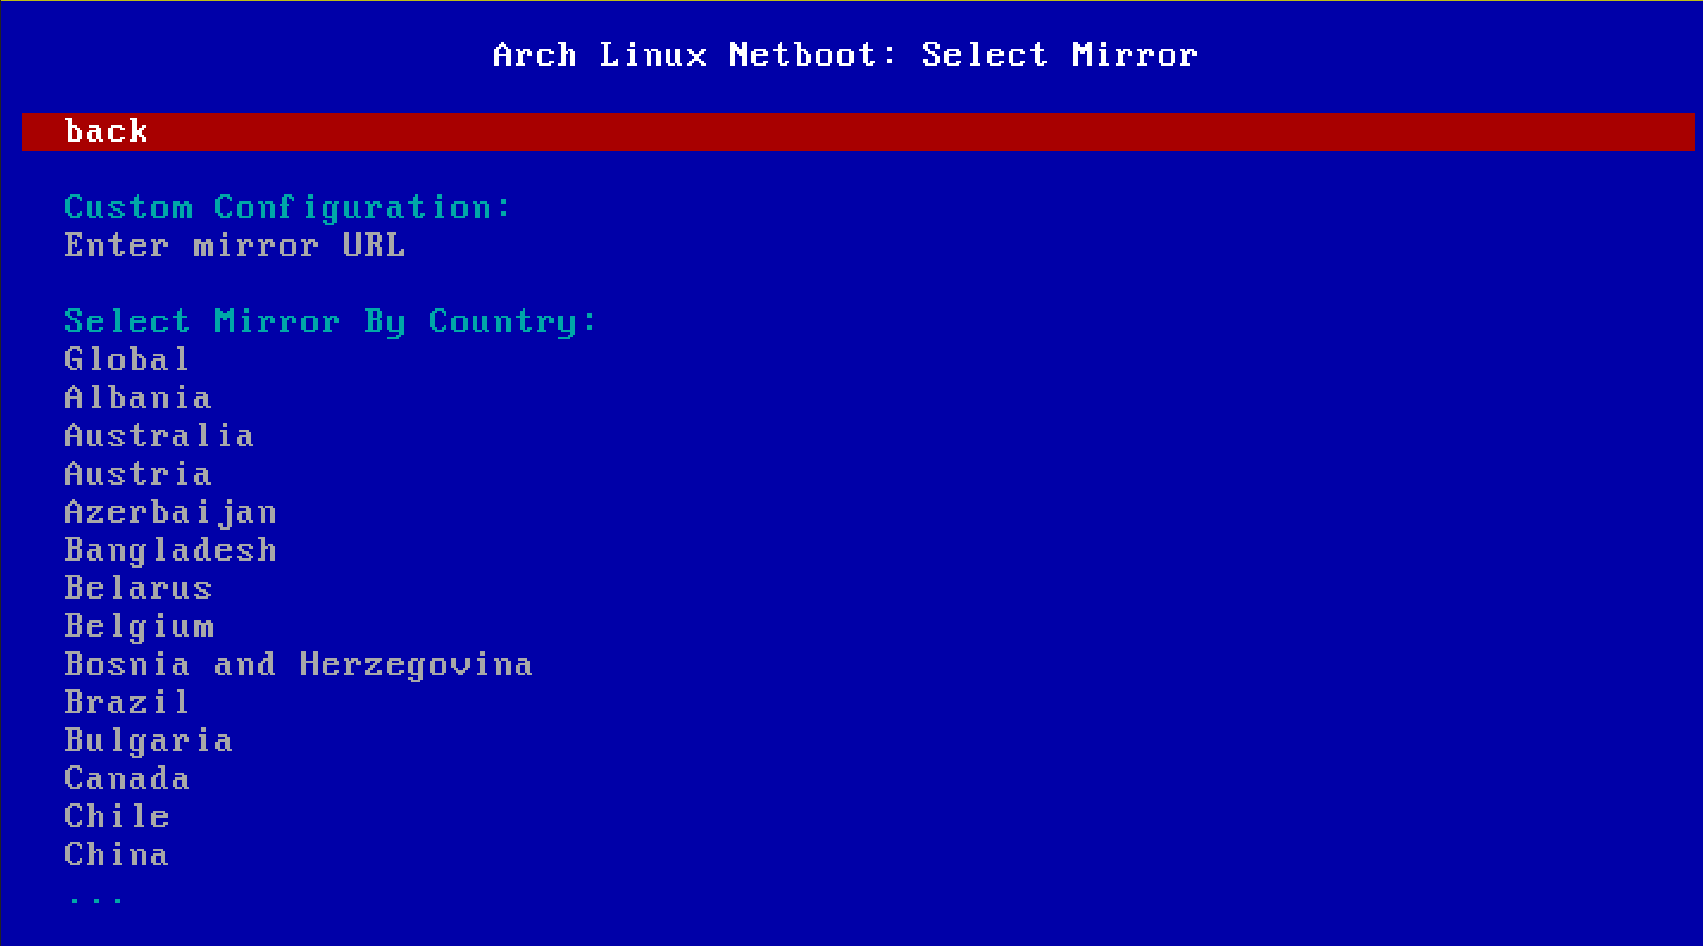
You can use the "Page Down" key to move quickly to the bottom of the list of countries (the "END" key might also work):
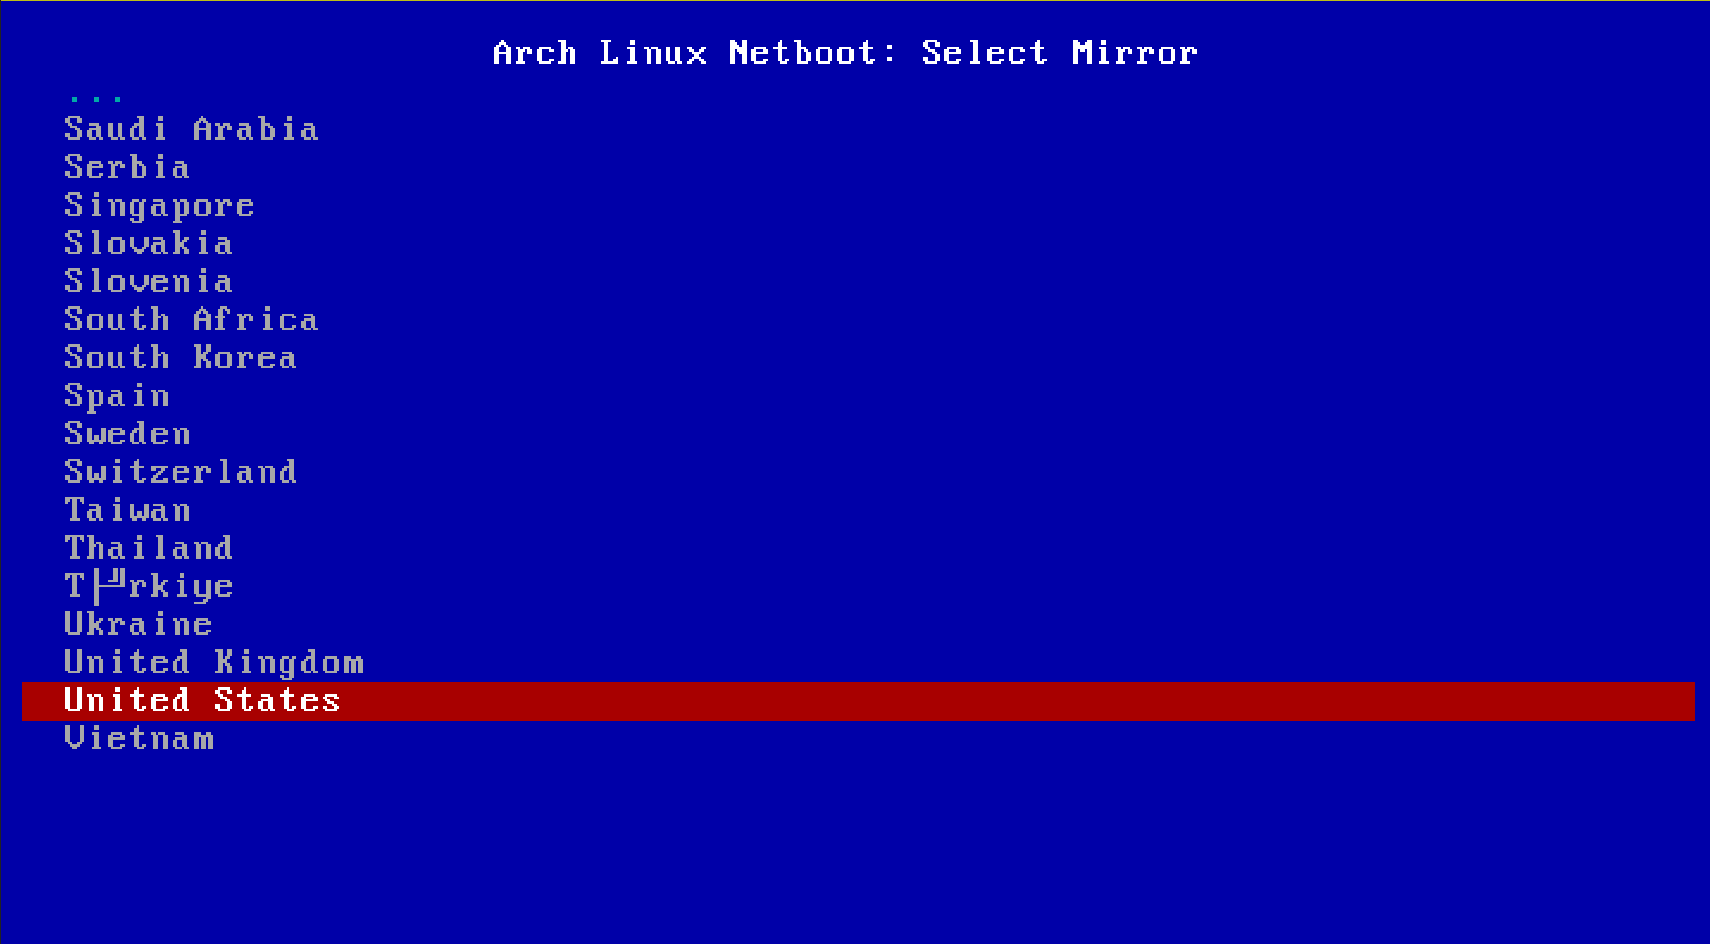
Once you are in the USA list (and I do recommend using a U.S.-based university for these downloads), you can scroll through looking for good ideas:
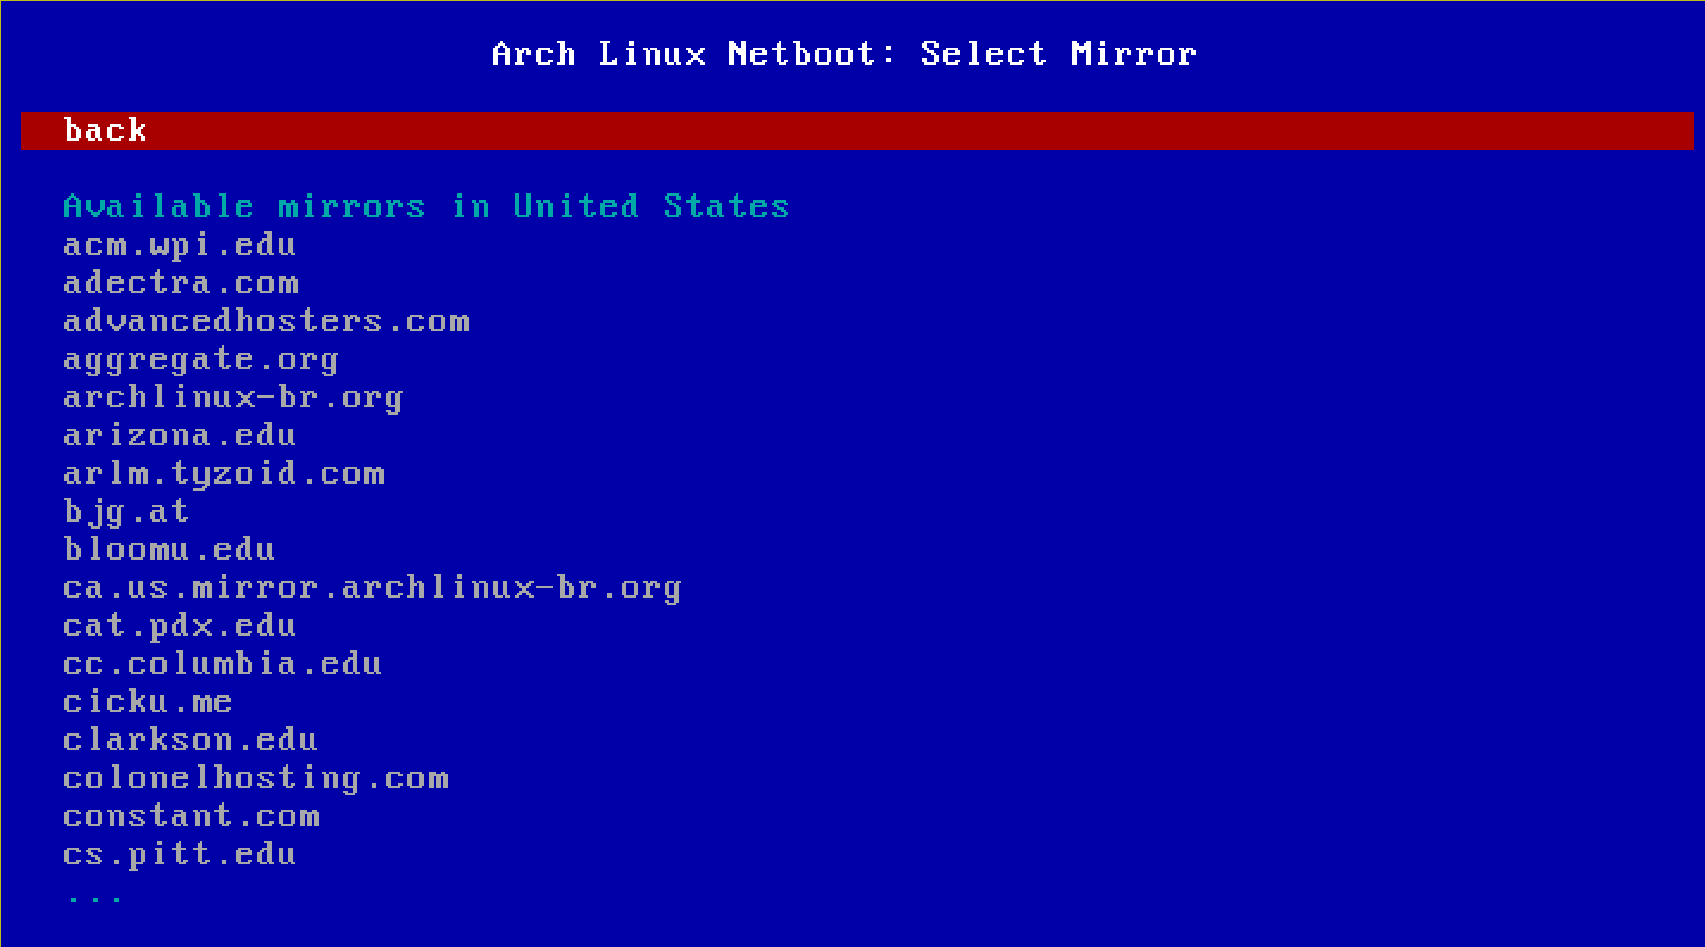
Over the years, I have found that Georgia Tech (when it's up) is usually very fast:
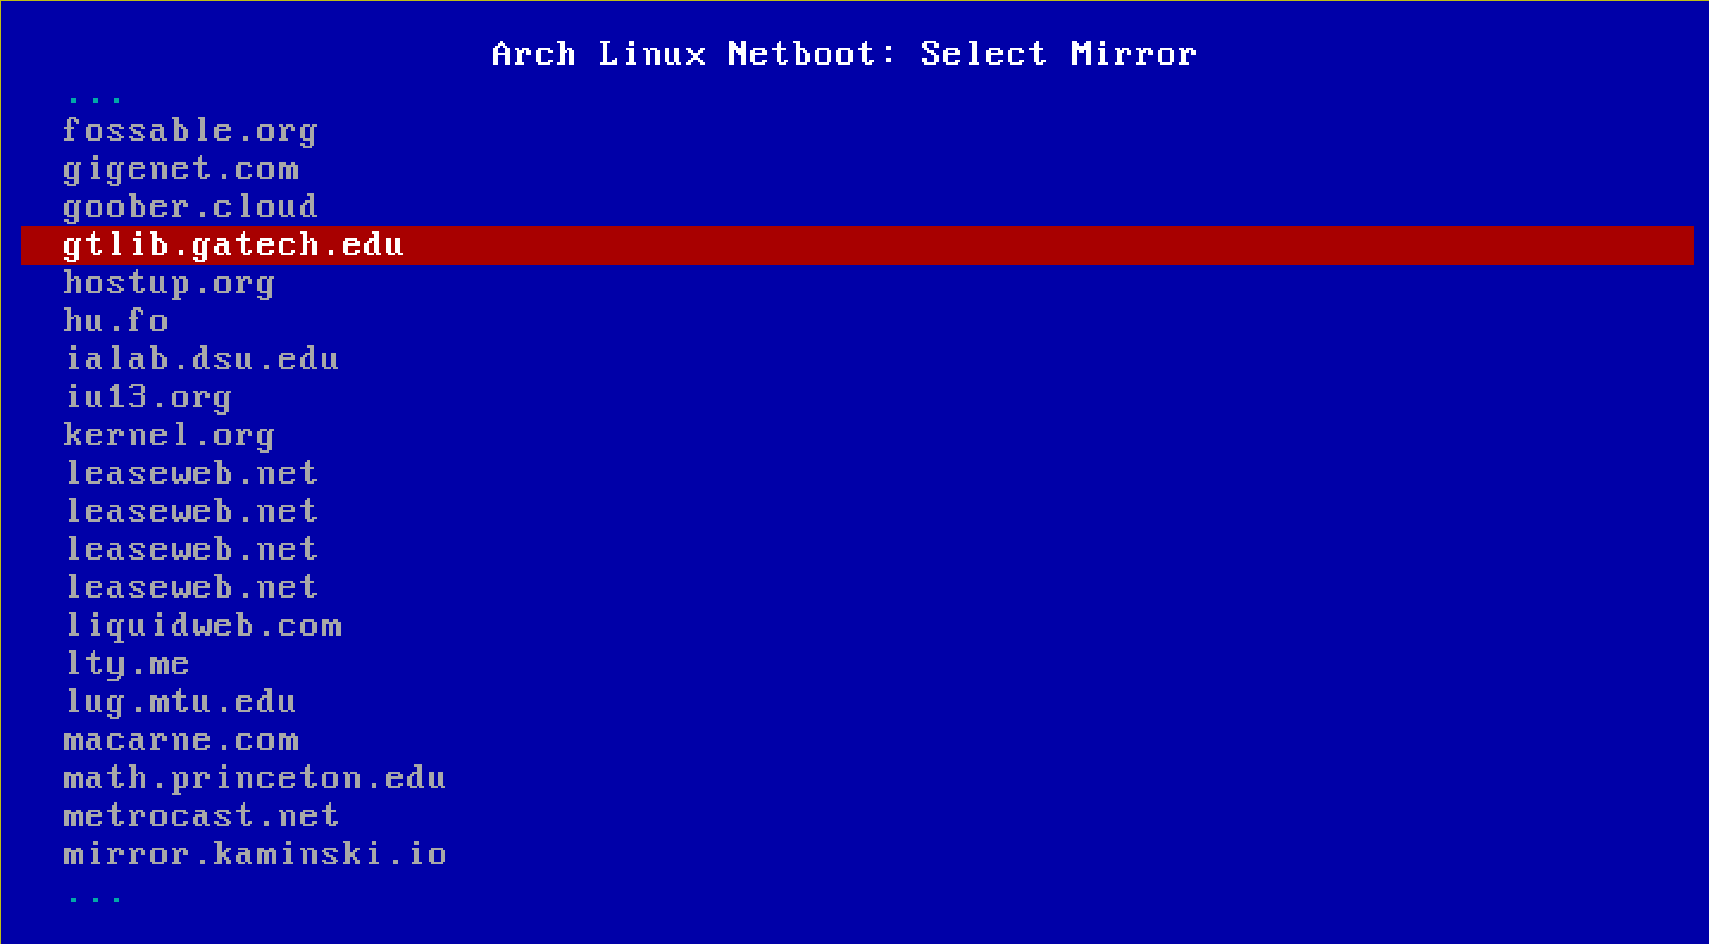
However, when I did this exercise on 2024-09-02 (Labor Day), gatech was actually down, so I ended up using bloomu.edu instead, which also was quite quick.
Once you have chosen a download server, you will be taken back to the first page. At that point, move down to the "Boot Arch Linux" option and hit return:
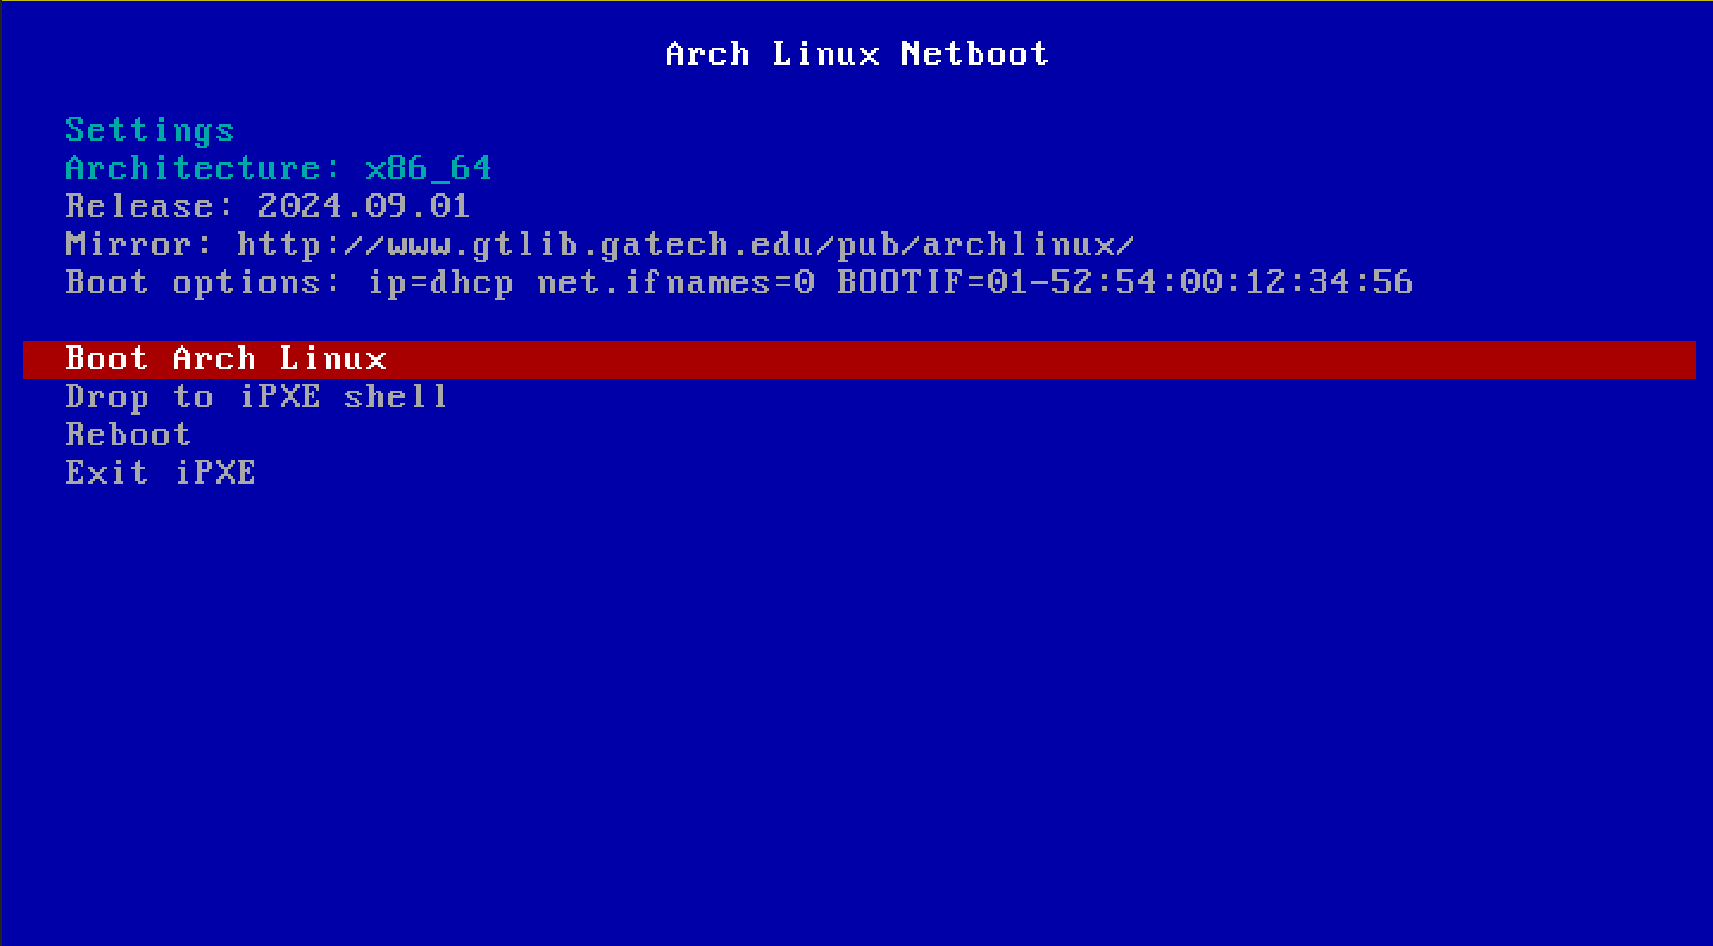
This will start the actual boot of the netboot image; from there, you will be your actual resident Arch installation.
Once Arch's netboot comes up, it looks like this:
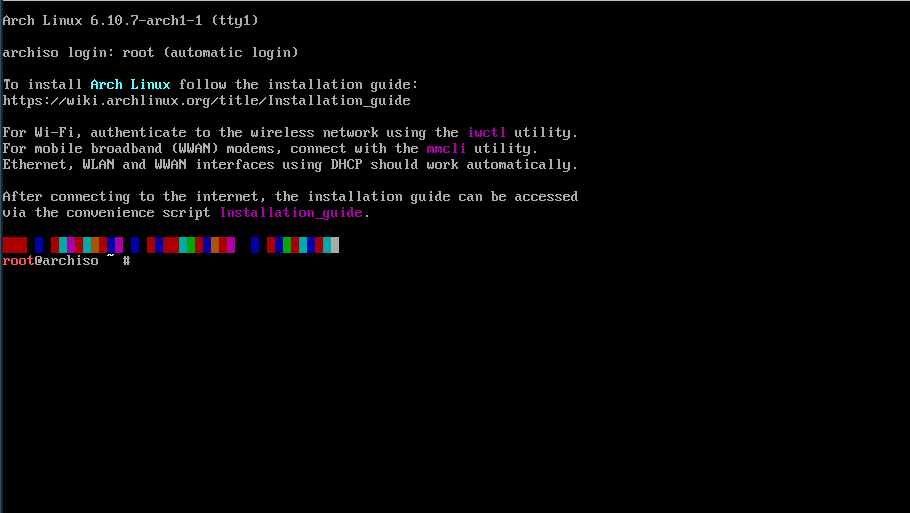
It is using zsh, which can be viewed as a derivative of bash.
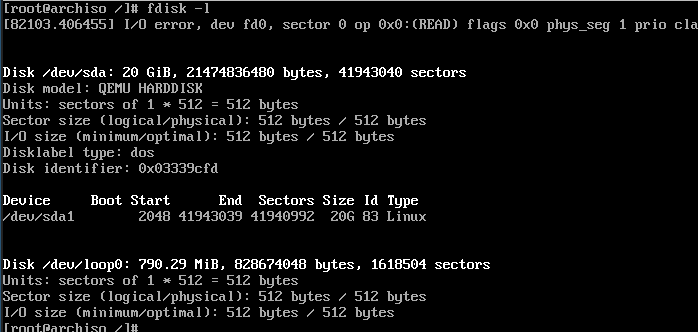
The first thing that we want to do is partition your /dev/sda drive. You can verify that have one (and maybe others, but we will ignore those since those are not necessary, though having one might be convenient later in the semester as additional space.) The program that we use is called fdisk, and we want fdisk to show a summary of all drives by using fdisk -l :
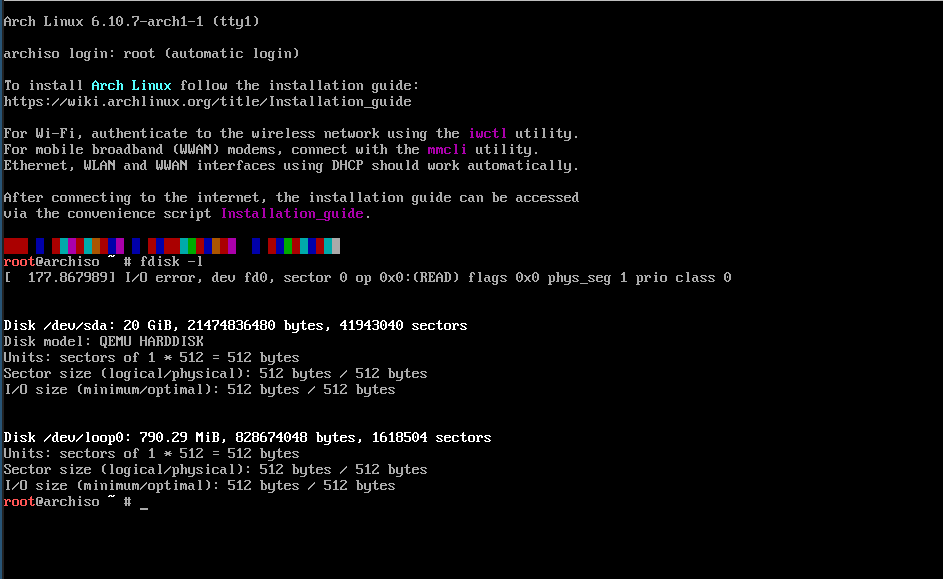
Having verified that we will see an /dev/sda drive, we will start partitioning it. The drive that I am showing has never been used, so it does not have a partition table. (If your drive does have a partition table (and it likely does), you can either use the "d" command in fdisk /dev/sda to delete your partitions from /dev/sda, and then use the "o" command to make sure that you are using a MBR partitioning scheme rather than GPT. Then use "w" to write out your new scheme. At that point, you are ready to do the next step.)

What you see above is where we do a "n" to create a new partition, specify it as a primary partition with "p", and then we just hit return twice to allow it to use all of the disk space on the disk. Finally, we do a "w" to write out the new MBR partition table. (Make sure that it says "dos" in the description; for this purpose, it's synonymous with "MBR".)
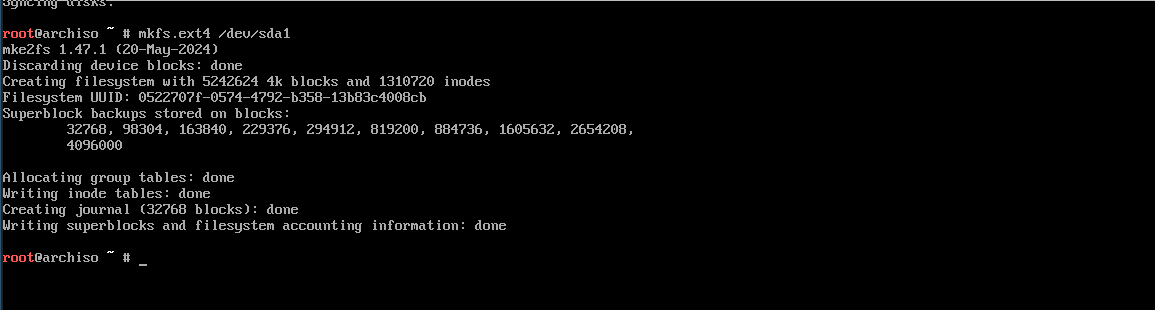
Now we are going to create a filesystem on the new partition with mkfs.ext4; all you have to do is specify the partition to write to with mkfs.ext4 /dev/sda1 :
Now we mount our new partition, in preparation for making it your final arch installation:

Now we use pacstrap to write some initial packages to the new Arch installation in preparation. I included dhcpcd since it can be convenient to have a DHCP client if you are in environment that supports DHCP service. I also have included three editors: emacs (in "no X" mode so that it doesn't download a lot of X-windows libraries unnecessarily), nano, and vim (which probably did add some libraries that I would not necessarily want unless I planned to run X later):

Now we need an /etc/fstab (almost no userland will run correctly without this, though it's not part of the kernel and is not an actual kernel necessity of any sort):

Finally, it's time to enter our new instance's environment; we will be using it as a real working environment (and thus the packages add inside of it are indeed persistent on the new image), but the underlying kernel is still the netboot one, not the kernel that we included in the "linux" package in our pacstrap. We use arch-chroot to do this:

Now we do several administrivia items; the first is setting our timezone:

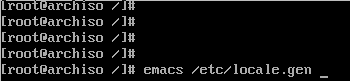
Next, we edit the file /etc/locale.gen in preparation for generating our locale information:
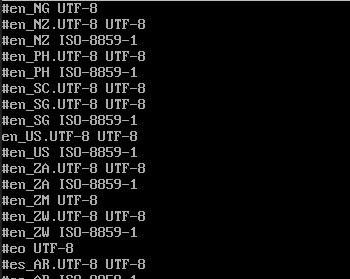
I am only turning on U.S. English using UTF-8 encoding of Unicode, but you can turn on others if you like. For almost any language, I would only choose the UTF-8 encoding set (though there are arguments for most of the possibilities, so if you have strong feelings about using non-Unicode, please install whatever you like.)
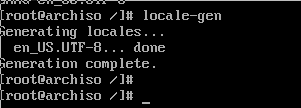
Now let's do some locale generation:
We will set a trivial hostname of "localhost"; any string that you like is fine, if you want to put something different (though I don't recommend using an explicit DNS name.)

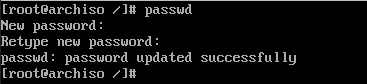
Now set a root password:
And now we check one more time that we have an MBR partitioning scheme (indicated by "dos") and that everything looks reasonable:
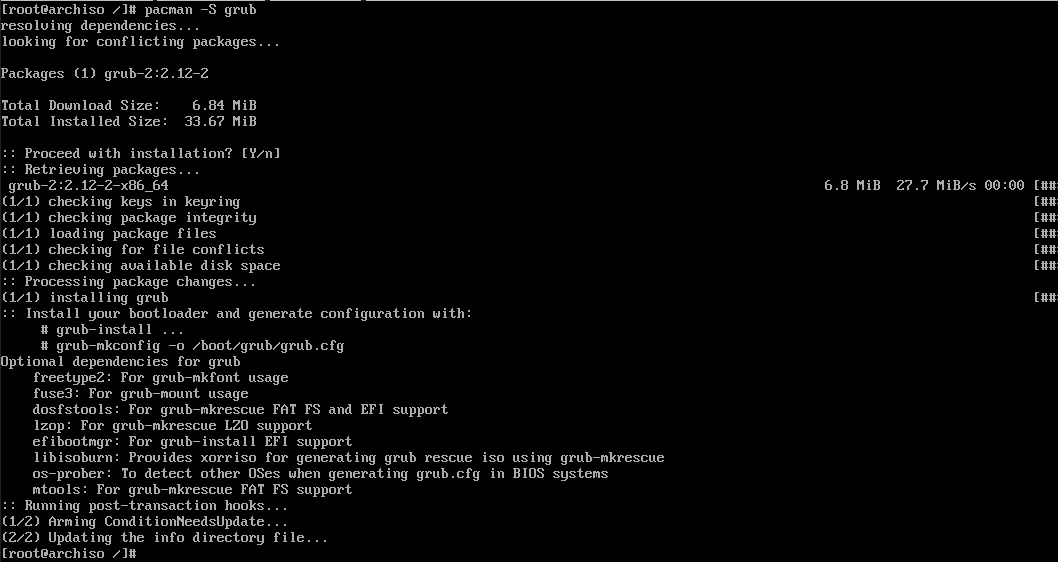
Now we will install the grub package as our bootloader:
Now we write the bootloader code to the MBR itself:

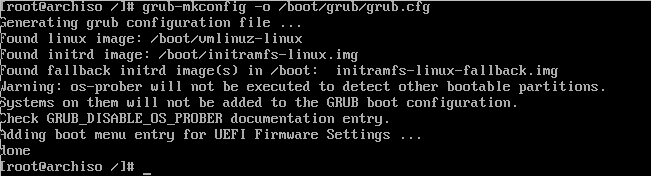
And we ask grub to create a configuration file /boot/grub/grub.cfg so that it can optimize its boottime behavior (and create a menu-driven interface that you can customize if you wish):
And now it's time to poweroff our image in hope of booting our new Arch system from the hard disk:

Now, it would be a good time to reconfigure your machine so that the default boot option is booting from (1) usb (2) the hard disk, and then (3) from the NIC.
And, if all went well, this is what you should see when you do finally reboot into the disk partition:
